
Step 1: Assess Your Site and Choose Your Surface Material

Evaluate Your Backyard’s Conditions
Examine your backyard putting green site for these key factors: level ground with no more than 3% slope and proper drainage to prevent water pooling. Shade coverage also affects your material choice and grass health.
Select Natural Grass or Synthetic
Natural grass requires reliable irrigation and suitable climate conditions for your region. Synthetic greens perform better in shaded areas or spaces where you have limited room.
Prepare Your Base
For natural grass: Install a sand-based rootzone drainage system with dedicated irrigation lines.
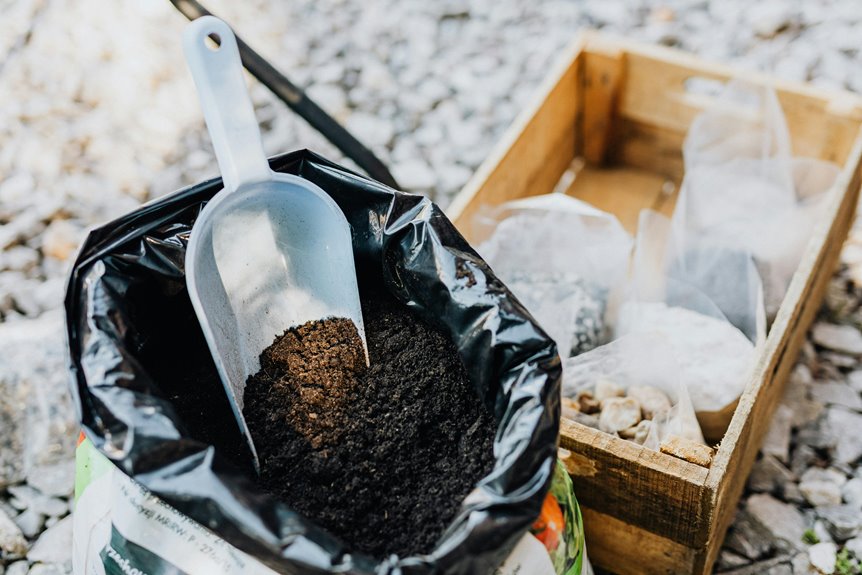
For synthetic greens: Build a foundation using 2–4 inches of gravel topped with 6–8 inches of compacted aggregate.
Decide on Installation Method
Assess whether you’ll hire professionals or purchase DIY kit options with pre-cut components. Your choice depends on your comfort level, available time, and budget. Review your installation guide to confirm it addresses your site’s specific conditions before you begin work.
Step 2: Prepare Your Site and Build the Foundation

Mark your installation area. Choose a well-draining location with no more than a 3% slope. Use spray paint to mark your putting green outline clearly.
Excavate and prepare the base. Remove 3–5 inches of native soil from your marked area. Lay down 4 inches of crushed rock base material.
Compact the foundation. Compact your crushed rock to 90–95% density. This compacting level ensures stability and prevents high and low spots later.
Install seam tape and secure it. Apply seam tape to your sub-base. Use 5-inch non-galvanized nails spaced every foot around the perimeter to hold the tape in place before you glue the turf down.
Complete the final compacting pass. Compact the entire installation area one more time. This finished foundation provides proper level contouring and establishes your drainage system base.
Step 3: Install Your Base Layer

Installing Your Base Layer:
- Roll out geo-textile fabric across your aggregate base to separate the layers properly
- Lay base panels along the perimeter edges first, following the numbered order for interlocking sections
- Perform final compacting across the entire installation area to create a level surface
- Dig holes approximately 8 inches in diameter and 8 inches deep for cups and sleeves
The geo-textile fabric prevents different materials from mixing while allowing water to drain through properly. Start positioning your interlocking base panels at the outer edges and work toward the center. Backfill cup sleeves directly onto the aggregate base once panels are in place.
Turf installer Marcus Chen recommends checking your base level with a straightedge tool after compacting. This step prevents future settling and ensures consistent ball roll across your entire putting green surface. Thorough compacting throughout the installation area creates the stable foundation your green needs.
Step 4: Lay Your Playing Surface

Roll out your turf and fringe across the entire green. Align all seams carefully before securing anything to the base layer. Lay everything flat to eliminate wrinkles and bubbles.
Secure the turf using 1-inch non-galvanized staples around the perimeter. Space these staples 3 to 6 inches apart. For the interior, place staples every 3 square feet to prevent shifting during play.
Apply construction adhesive to the seam tape underneath your turf. This gluing step keeps seams tight and seamless. Add additional nails and staples around the perimeter for extra stability.
Spread 0.5 to 1.5 pounds of infill material per square foot across the playing surface. Rake the infill thoroughly into the thatch layer. Check that your surface lies completely flat with tight seams throughout. Verify fringe alignment matches your layout plan.
Step 5: Install Edging and Plan Your Maintenance

Step 5: Install Edging and Plan Your Maintenance
Edging Installation Process:
You’ll create a clean border using bend-a-board perimeter with composite stakes. Install the edging along your green’s boundary to define its edges clearly.
Secure the turf connections: apply seam tape where sections meet. This prevents gaps from forming over time.
Fasten the turf using staples or nails in two locations: along the perimeter and in interior areas. Space fasteners about 12 inches apart for even support.
Apply infill material at 0.5 to 1.5 pounds per square foot. Rake the infill into the thatch layer until it sits evenly throughout.
Immediate Inspection:
Check your surface for flatness right after installation. Look for any loose seams or fasteners and fix them immediately. These small problems grow larger if you ignore them.
Ongoing Maintenance Plan:
Your regular maintenance tasks include: brushing the surface weekly, vacuuming debris twice monthly, and checking fasteners every three months. These steps keep your green stable and working well for years.